Click on a thumbnail to view full-size.
| Example |
Description |
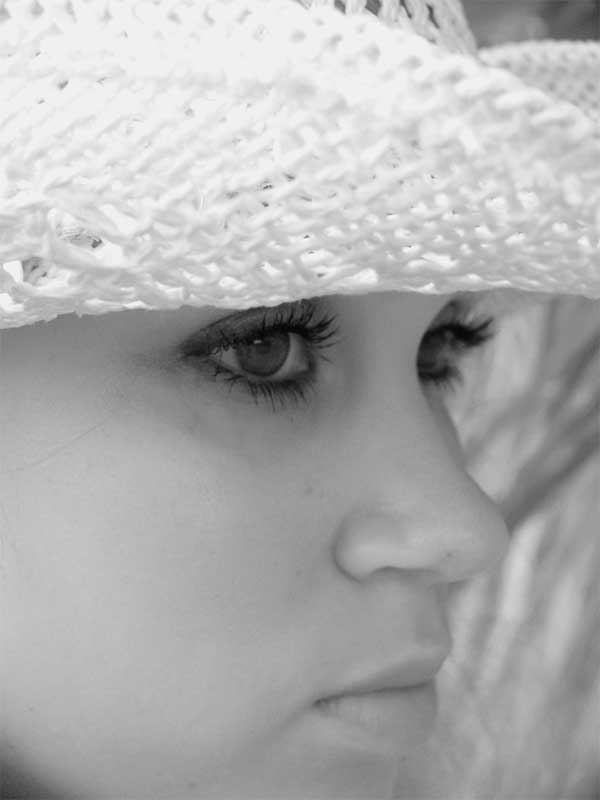
Before |
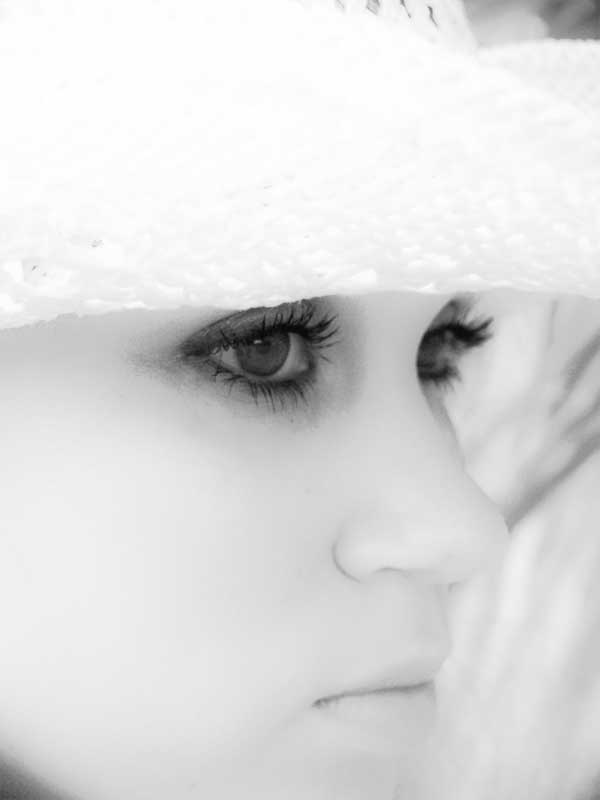
After |
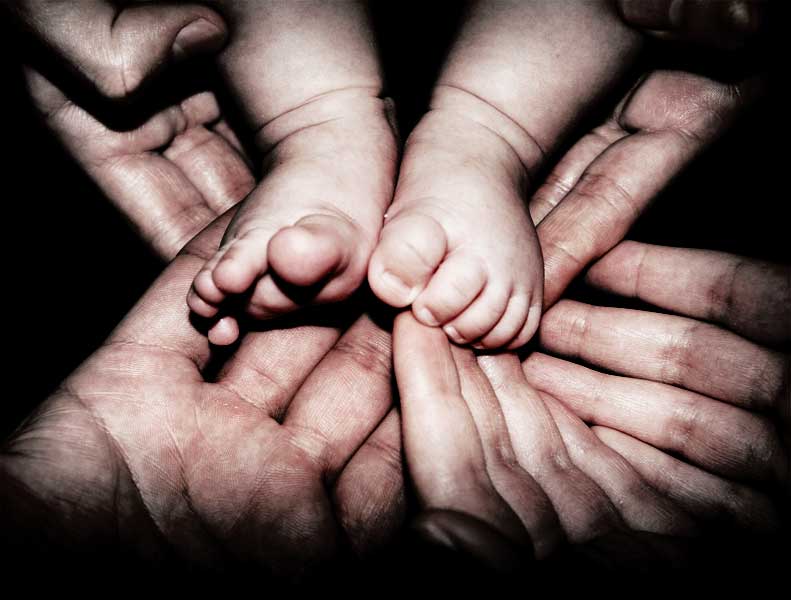
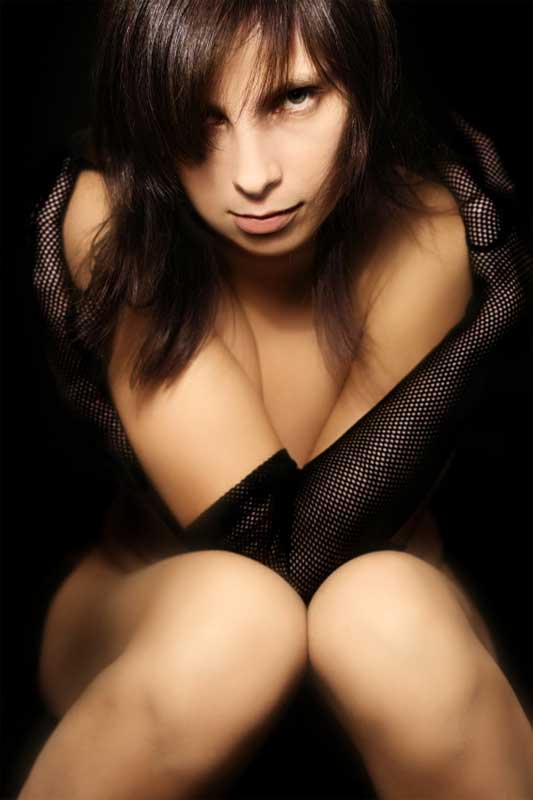
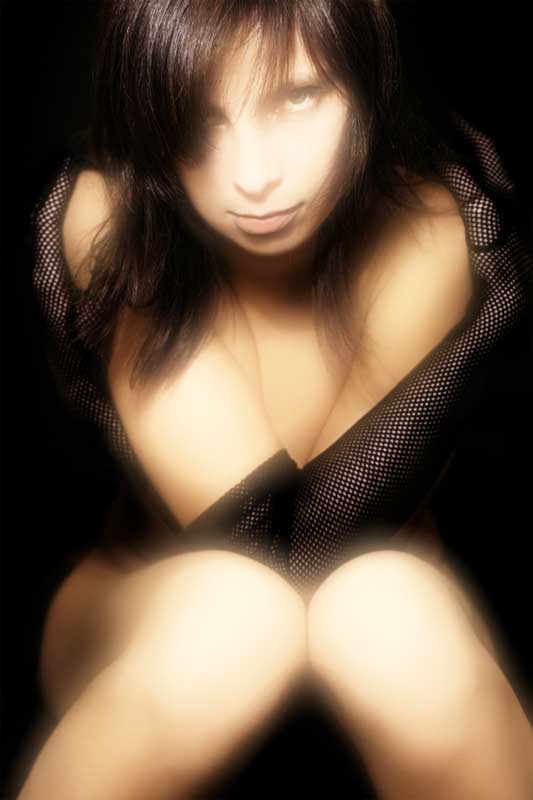
- Copy the original image to a new layer.
- Apply "Bright to Opaque" AlphaToys™ filter.
- Apply "Gaussian Blur" AlphaToys filter to Alpha channel.
- Mix the new layer using "Overlay" mxing mode.
To eliminate the whitewash effect, you could simply lower brightness of
the source image. |
BeforeBy
Photos8.com |
After |
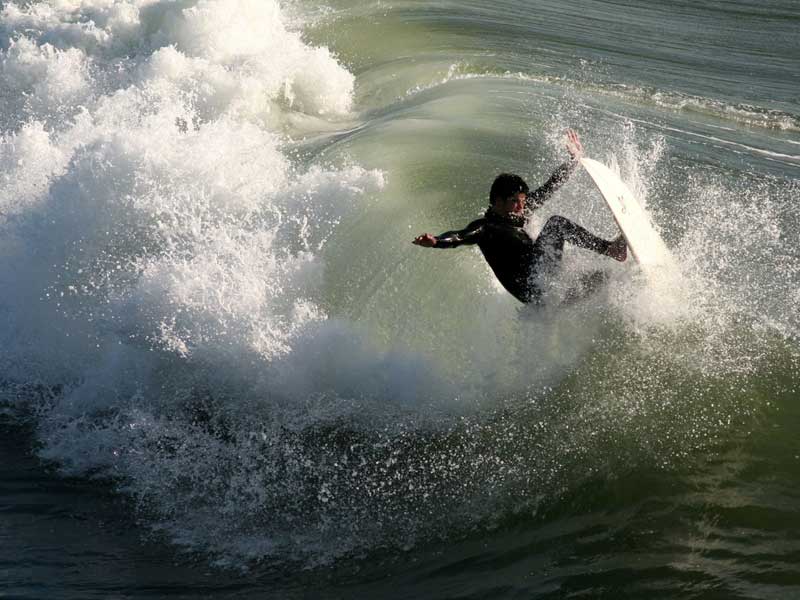
- Copy the original image to two new layers (named "dark" and "bright"
here).
- On the "bright" layer;
- Apply "Bright to Opaque White" AlphaToys filter.
- Apply "Unsharp Mask" AlphaToys filter to Alpha channel.
- Apply "Brightness/Contrast" AlphaToys filter with low brightness.
- On the "dark" layer;
- Apply "Dark to Opaque Black" AlphaToys filter.
- Apply "Unsharp Mask" AlphaToys filter.
- Increase saturation of the layer by +75%.
- Mix the layers with the original layer.
- The "bright" layer goes at the top, with normal mixing mode.
- The "dark" layer goes in the middle, with "Overlay" mixing mode.
|
Before |
After |
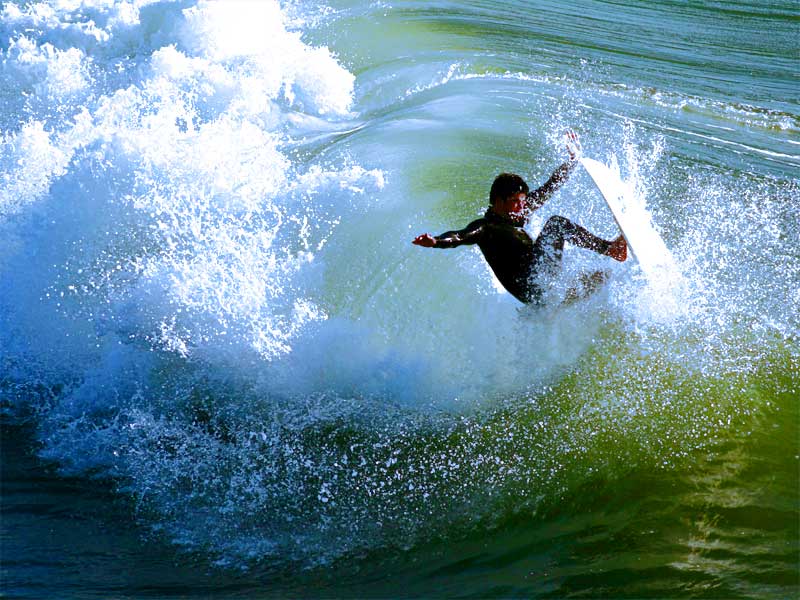
- Copy the original image to two new layers (named "dark" and "bright"
here).
- On the "dark" layer;
- Apply "Dark to Opaque" AlphaToys filter.
- Apply "Unsharp Mask" AlphaToys filter.
- Increase saturation of the layer by +75%.
- On the "bright" layer;
- Apply "Bright to Opaque White" AlphaToys filter.
- Apply "Brightness/Contrast" AlphaToys filter with low brightness
and high contrast.
- Apply "Unsharp Mask" AlphaToys filter to Alpha channel.
- Add a single-color layer with a medium saturated sky-blue color.
If you use Smart Objects, you can go back at any time and change any of
the filters afterwards. |
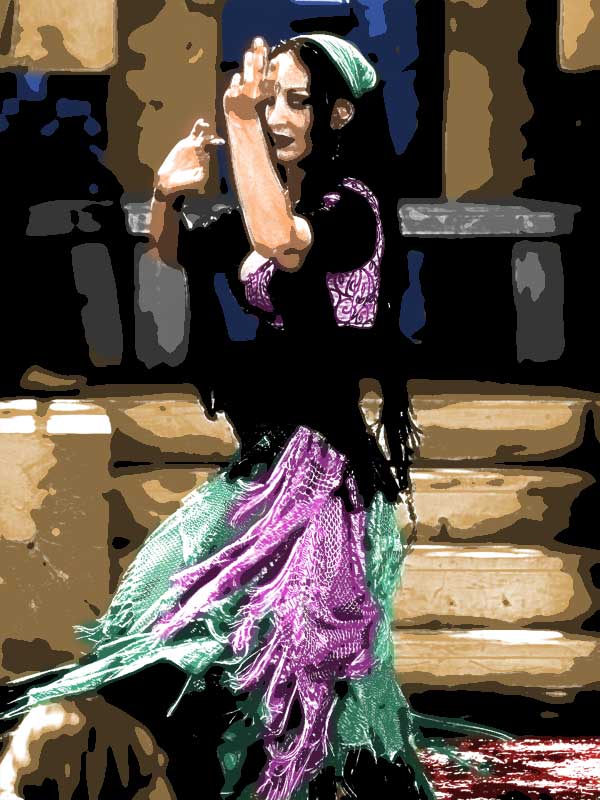
Before |
After |
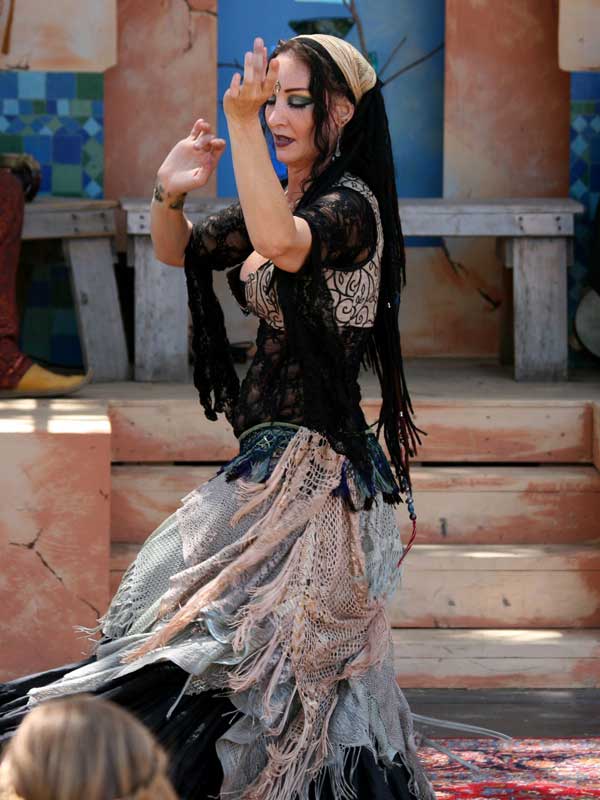
- Copy the original image to two new layers (named "dark" and "bright"
here).
- On the "dark" layer;
- Apply "Dark to Opaque Black" AlphaToys filter.
- Apply "Brightness/Contrast" AlphaToys filter.
- Apply "Gaussian Blur" AlphaToys filter to Alpha channel with a
small radius.
- Apply "Posterize" AlphaToys filter with 4 levels.
- On the "bright" layer;
- Apply "Bright to Opaque White" AlphaToys filter.
- Apply "Brightness/Contrast" AlphaToys filter with very low
brightness and medium contrast.
- Apply "Unsharp Mask" AlphaToys filter to Alpha channel.
- Add color by using a new layer and drawing in the color by hand with
a brush tool.
Use multiple color layers for easier (re-)editing. |
Before |
After |
- Copy the original image to a new layer.
- Apply "Bright to Opaque White" AlphaToys filter.
- Apply "Gaussian Blur" AlphaToys filter to Alpha channel.
- Mix the new layer using "Screen" mxing mode.
The effect has been overdone for demonstration purposes. If you apply
the effect more subtly, the results will look more realistic. |
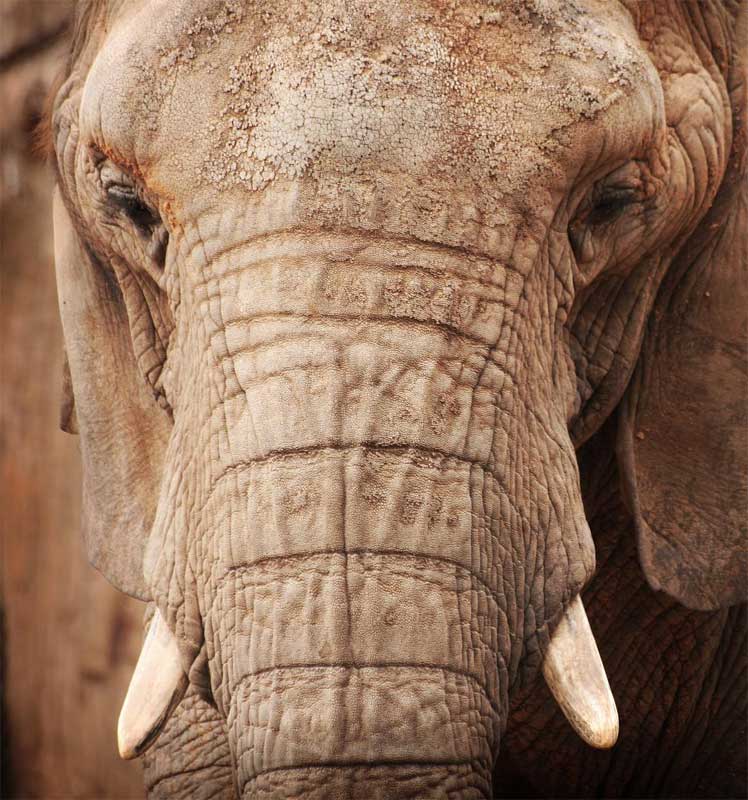
BeforeBy
Photos8.com |
After |
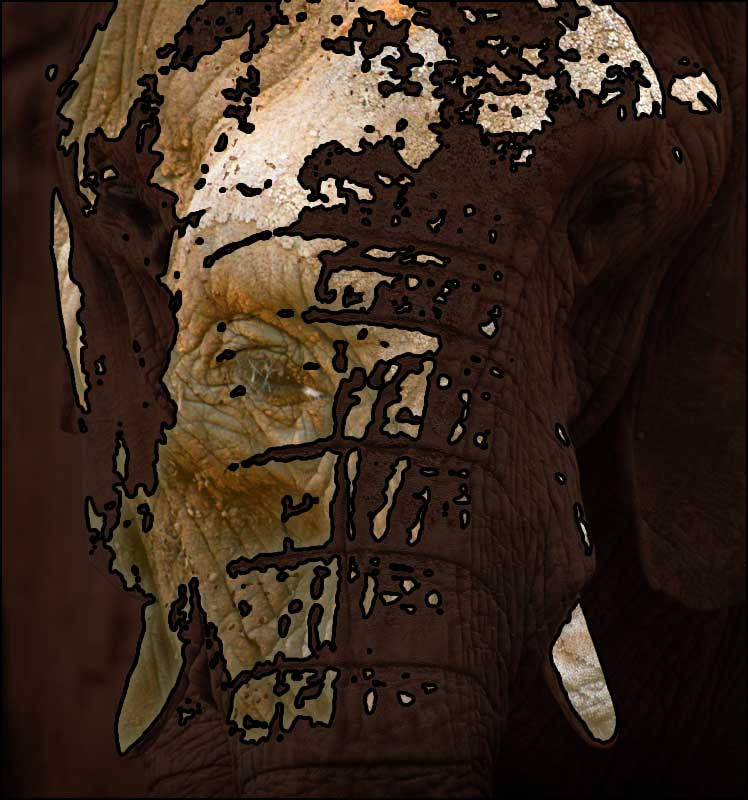
Complex composition of two photographs of elephants.
- Cutout of elephant photo 1;
- Apply "Dark to Opaque Black" AlphaToys filter.
- Apply "Brightness/Contrast" AlphaToys filter to Alpha channel
with increased brightness and contrast.
- Apply "Gaussian Blur" AlphaToys filter to Alpha channel with radius
of 1.
- Apply "Posterize" AlphaToys filter with 2 levels.
- Add Photoshop™ builtin effects "Outer glow" and "Stroke".
- Dark shading on cutout;
- Copy of elephant photo 1 using selection of the cutout layer, mixed
with "Multiply" mixing mode.
- Background image of elephant photo 2 was only slightly manipulated
for color and positioning.
This image was created using Smart Objects to allow iterative tweaking
of the Gaussian Blur and Brightness/Contrast AlphaToys filters, in order to
get a good ratio between cutout and background. |